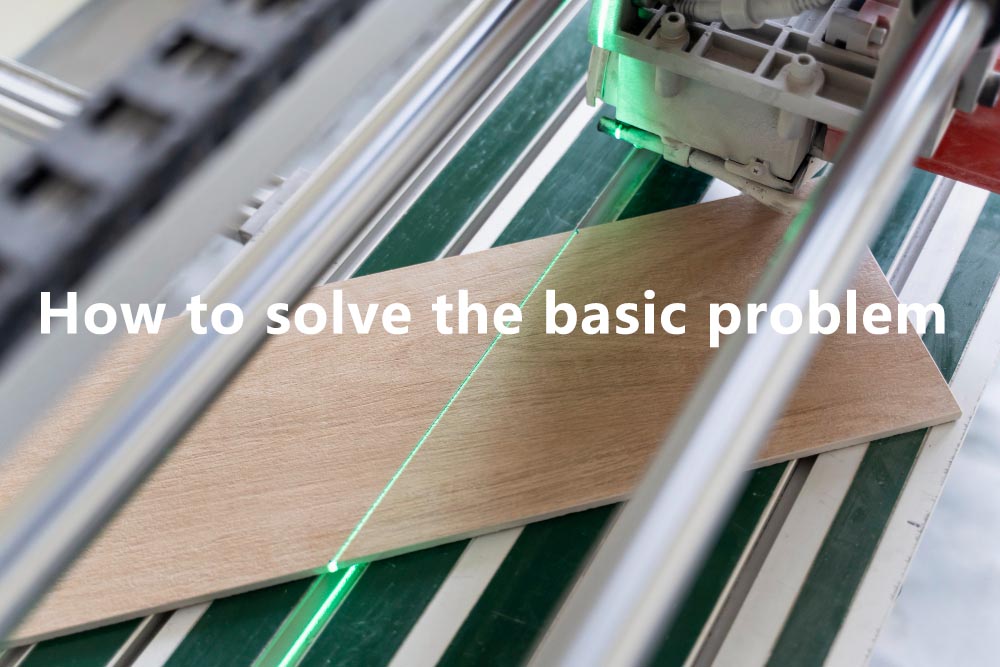
Question 1: The Problem of laser module
Usually, for the problems such as no laser shot, no burning, fails in cutting, laser fan abnormal noise, over-burning in cutting and engraving, etc., please follow the steps below to detect(parts need to be replaced if damaged)
1) No laser shot is caused by laser diode damage, the laser needs to be replaced. you can click ACCERSSORIES to choose a new laser
2) No burning can be determined by testing the laser output power to determine if the laser fails, methods as follows
Take apart the control box, rearrange the laser cable connection according to the picture, then power on, put one piece 3 mm thick wood 2 mm distance from the laser head, if laser burns the wood proves the laser works, while if laser does not burn the wood proves the laser fails.

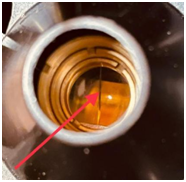
4) Laser fan abnormal noise might caused by the fan blade is blocked by wires, or there is anything abnormal on the fan blade( please check the fan running from the windows shown in the photo below with naked eyes). The other possibility is the fan is damaged ( laser fan needs to replaced)

Question 2: The Problem of Motherboard from control box
1)When the machine is running, if the Y-axis moves while the X-axis does not move or the X-axis moves while the Y-axis does not move, such issues caused by the failure of the two drive blocks on the motherboard. Which drive block is damaged could be determined by swapping connection wire to X-axis motor with the wire to Y-axis motor, click the arrow button on the software to see whether the X/Y axis can be moved.(Note: If the X-axis does not move, the X-axis drive block on the motherboard is damaged. If the Y-axis does not move, the Y-axis drive block on the motherboard is damaged.) This fault needs to be sorted by replacing the motherboard. The detection steps are as follows.
 Swap two connection wires
 Click the arrows in LaserGRBL to move X/Y axis

Click the arrows in Lightburn to move X/Y axisThe machine
2) does not turn on. If the power adapter outputs the correct voltage but the controller is not powered on, which possibly caused by controller power switch failure.(the power switch needs to be replaced)
Question 3: The Problem of Power adapter
The machine is not powered usually caused by no voltage output of the power adapter. See whether the indicator light on the power adapter lights up. No lights up proves the power adapter is faulty. It could be judged by checking the output voltage of the power adapter as well, no 12V voltage output means the power adapter is damaged, alternatively, you could try this adapter to the other device(input 12V), if the device does not works, proves the adapter is faulty. The power adapter needs to be replaced. The test method is as follows

Question 4: The Problem of Software settings
The engraving/cutting word is not good enough, usually caused by incorrect parameter settings and foreign matter on the laser lens, which could be solved by adjusting the parameter settings and cleaning the laser lens (Note: please refer to the parameter table to set)

LaserGRBL parameter settings instruction

LightBurn parameter settings instruction
Question 5: The Problem of Connection failure
The software cannot be connected to the machine, which is caused by the software cannot recognize the computer's USB serial port. It can be solved by plugging the USB line to another USB port, replacing the USB data cable or updating the driver. If the problem is not solved by three means above which proves the computer is not compatible to the machine, please try another computer.
1)Plug the USB line to another USB port

2)Unable to recognize the COM port automatically
LaserGRBL software is able to connect to the engraver directly. For LightBurn software, the COM port could be created manually when the software cannot automatically recognize the serial port. The steps are as follows

Step 1

Step 2

Step 3 (fill 410 and 400 in)

Step 4 Turn on or off(recommend to turn it off)

Step 5 Pick GRBL then OK
3) Windows OS LaserGRBL software driver updating

Step 1

Step 2

Step 3
4) Mac OS LightBurn software driver updating(address to download https://www.atomstack.com/software/)

Step 1

Step 2

Step 3

Step 4

Step 5

Restart
Question 5: Structure of machine
The misaligned and deformed result, engraving line is not straight, the machine does not move smoothly and abnormal noise happens along the machine moves, all those are caused by improper installation of the optical axis, timing belt, POM wheel, eccentric nut or accessory damage.
1)The bending Optical axis leads to the abnormal output, could be sorted by restoring or replacing the optical axis.

2)Over tight timing belt will cause abnormal noise, and the timing belt is too loose or too tight will affect the engraving/cutting result. Use an Allen key to loosen the T-nut, tighten the timing belt, and then tighten the T-nut (note: adjust the timing belt until the wheels can move smoothly)

3)POM wheel adjusting: The scratches or deformation of the wheels will cause the unsmooth movement, which could be solved by replacing the wheels.

4)Eccentric nut adjustment:Eccentric nuts are used to adjust the tightness of POM. Adjust this eccentric nut to proper status, not very tight not very loose, Just can be turned smoothly by hand. Over tight eccentric nuts will cause POM wheel too tight, which leads to the abnormal noises in movement. If the eccentric nut is too loose, the POM wheel will also become loose, which will affect of engraving/cutting result. In could be solved by adjusting the eccentric nut with an open-end wrench in this case.

The warranty period of the machine is one year, please feel free to contact the store you ordered from to replace the faulty parts if it is eligible. Please be aware that you need to pay for the parts when the one year warranty expires.